User Guide for
create.scribika
Part 1: Entering the Engine (Getting Started)
Your journey as a Director begins with setting up your creative space.
Navigate to: create.scribika.com.
Click to create an account using your Google, Facebook, or Microsoft email address.
Read and agree to the User Agreement , then select your name and/or username.
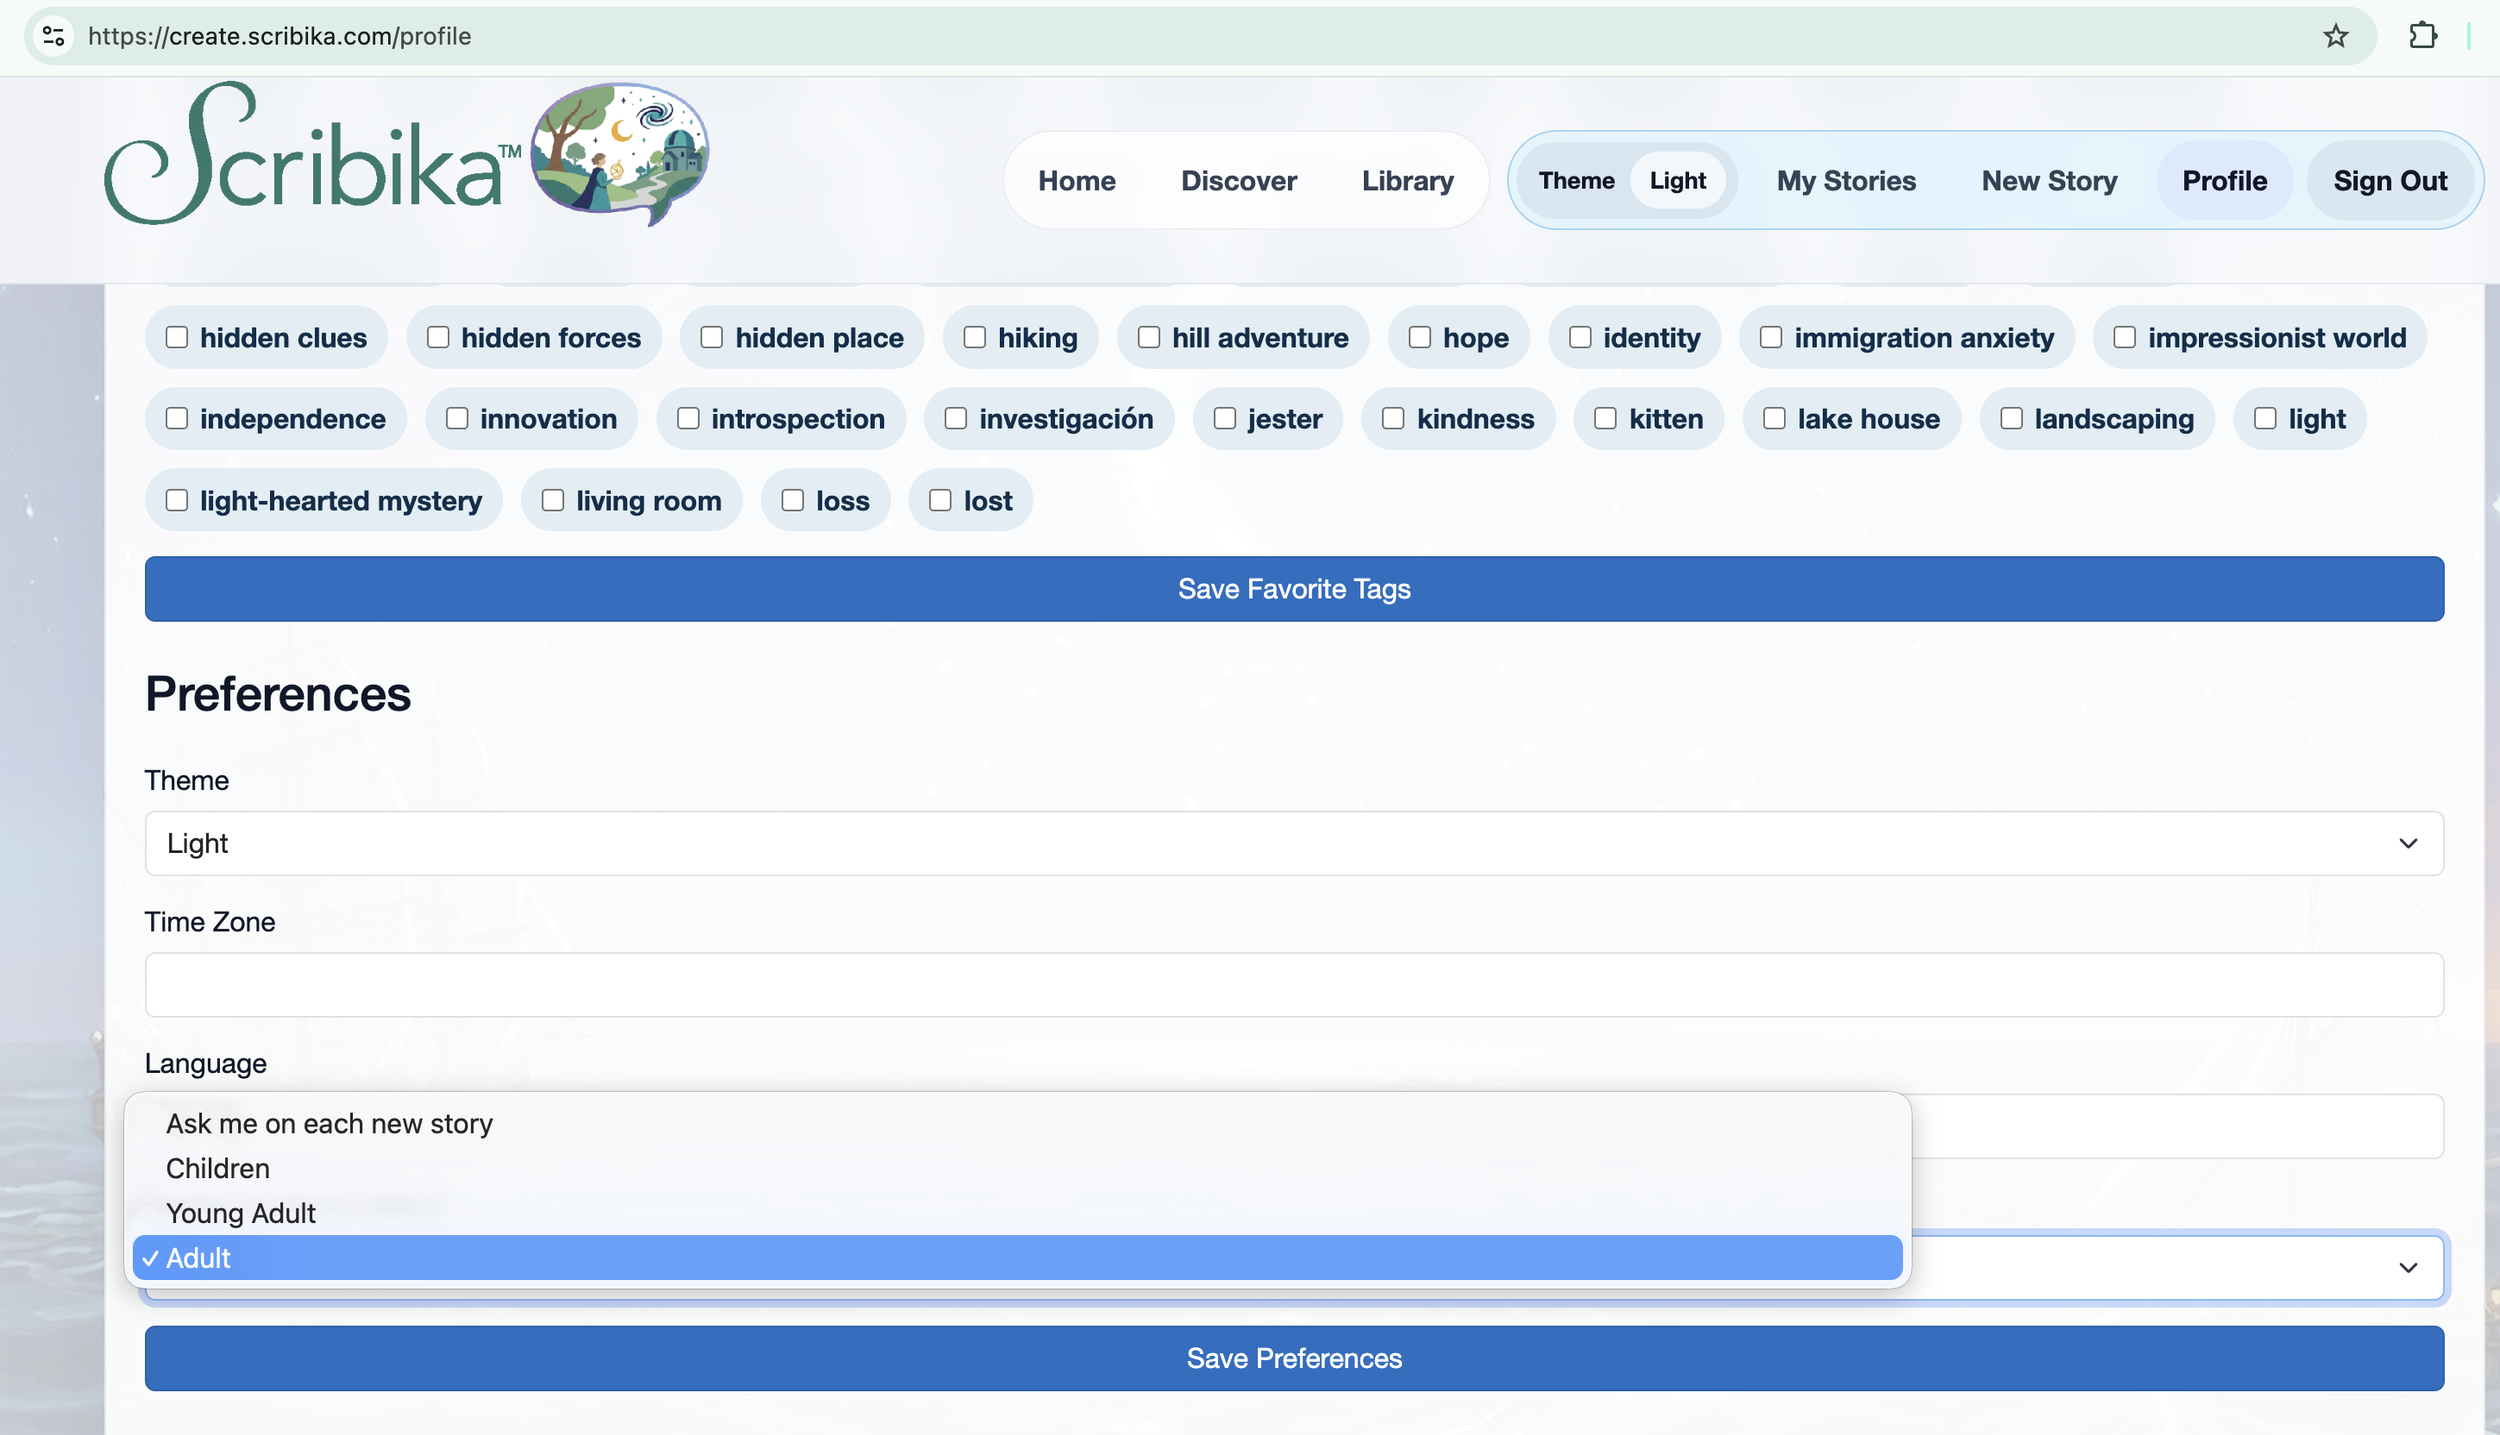
Navigate to your profile to set your default reader audience.
Choose between Children, Young Adult, or Adult.
A Note on Audience Settings: The system defaults to Adult, which allows the user to write stories at any age level. If a child is using the service, it is especially important to select the correct audience level to restrict both story writing and library content to that specific age group.
Part 2: Directing Your Story
Now to the fun stuff, writing and reading your stories!
Click "New Story" and select the intended reader audience level: Adult, Young Adult, or Children.
Click in the Story Description box and type in your idea.
The system requires only one sentence to build a bespoke story. Including more details—like character names, specific locations, or environments—will develop a more specific and personalized story.
When you're finished, click "Launch chapter one".
There will be a waiting period for the system to create your story and the matching images; this is simply the nature of AI. Please hang with us, your story will be worth it! We will add fun games and features to help pass the time.
When the chapter loads, there are several tools that you can read to decide how to move forward with the story.
Click the drop-down button on the left side of the screen, "Show story map," to see the outline of the story: Story name, progress, Arc Length, Remaining chapters, Resume, Audience, Chapter summaries, and the story characteristics/categories.
You can use the summaries to decide how you want to direct the story for a quick creation , or just read your story as the chapters are revealed to get a complete picture as it builds.
At the end of this chapter, you will find the guide to the next section where you can frame or reframe the direction of your story.
The engine provides several suggestions and a short summary of the next chapter. You can take the suggestions or make your own plans for the next chapter.
Once you have finished directing the next chapter, click "Write the next session".
When the next chapter loads, repeat this process until your story ends.
Once the final chapter ends, your story is autosaved to the library.
You have the option to share your custom story link with your friends, family or on your socials and email —your masterpiece is ready and meant to be shared with the world!
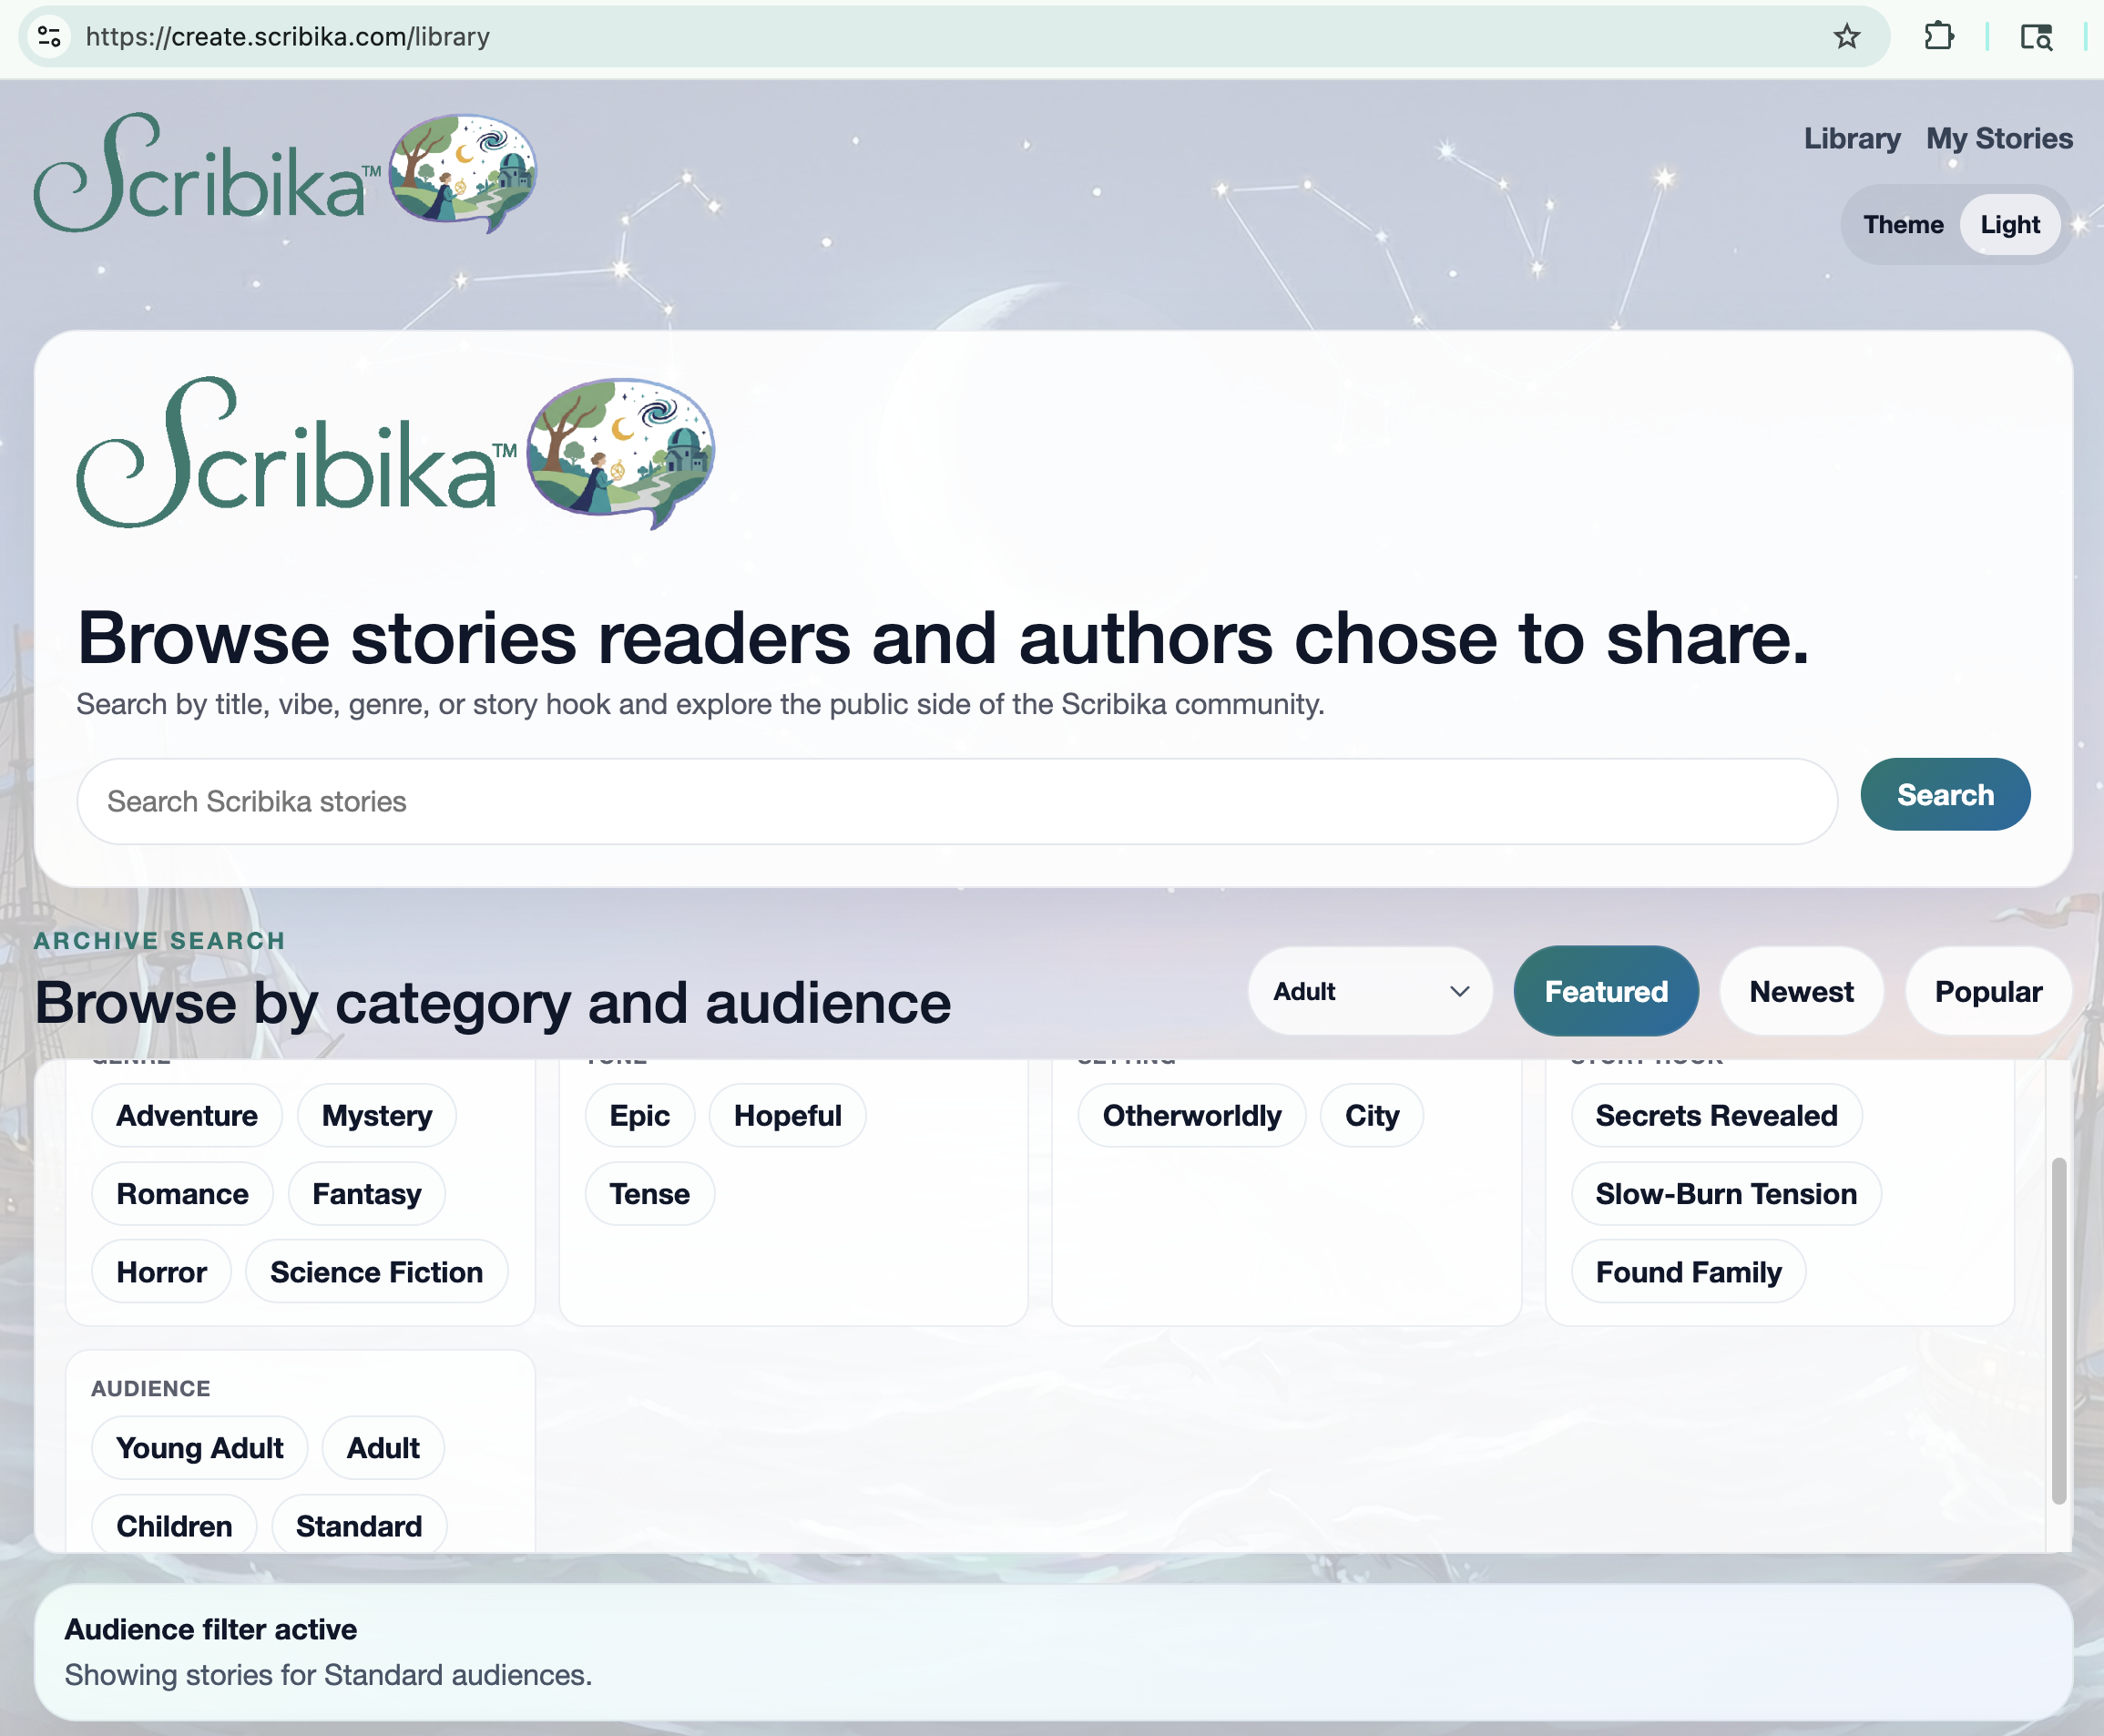
Part 3: Exploring the Library
Discover new worlds crafted by the community.
Unlimited Discovery: Anyone can go to the library and see what other users have created. There is no limit on the number of stories you can read in the library.
Curated Browsing: These stories can be sorted by all kinds of categories and age groups.
Share the Love: Love a story you are reading (maybe it’s even your story!)? Give it a thumbs up. This will help other users find the best, most popular stories!